Adding children to the Main roster manually
How you manually add children to rosters will depend on which kind of activity you are working with. This article outlines the steps for each.
Classes
To add a child to a Classes roster manually, click on the Classes icon at the left side of the screen, and then click on the class name.
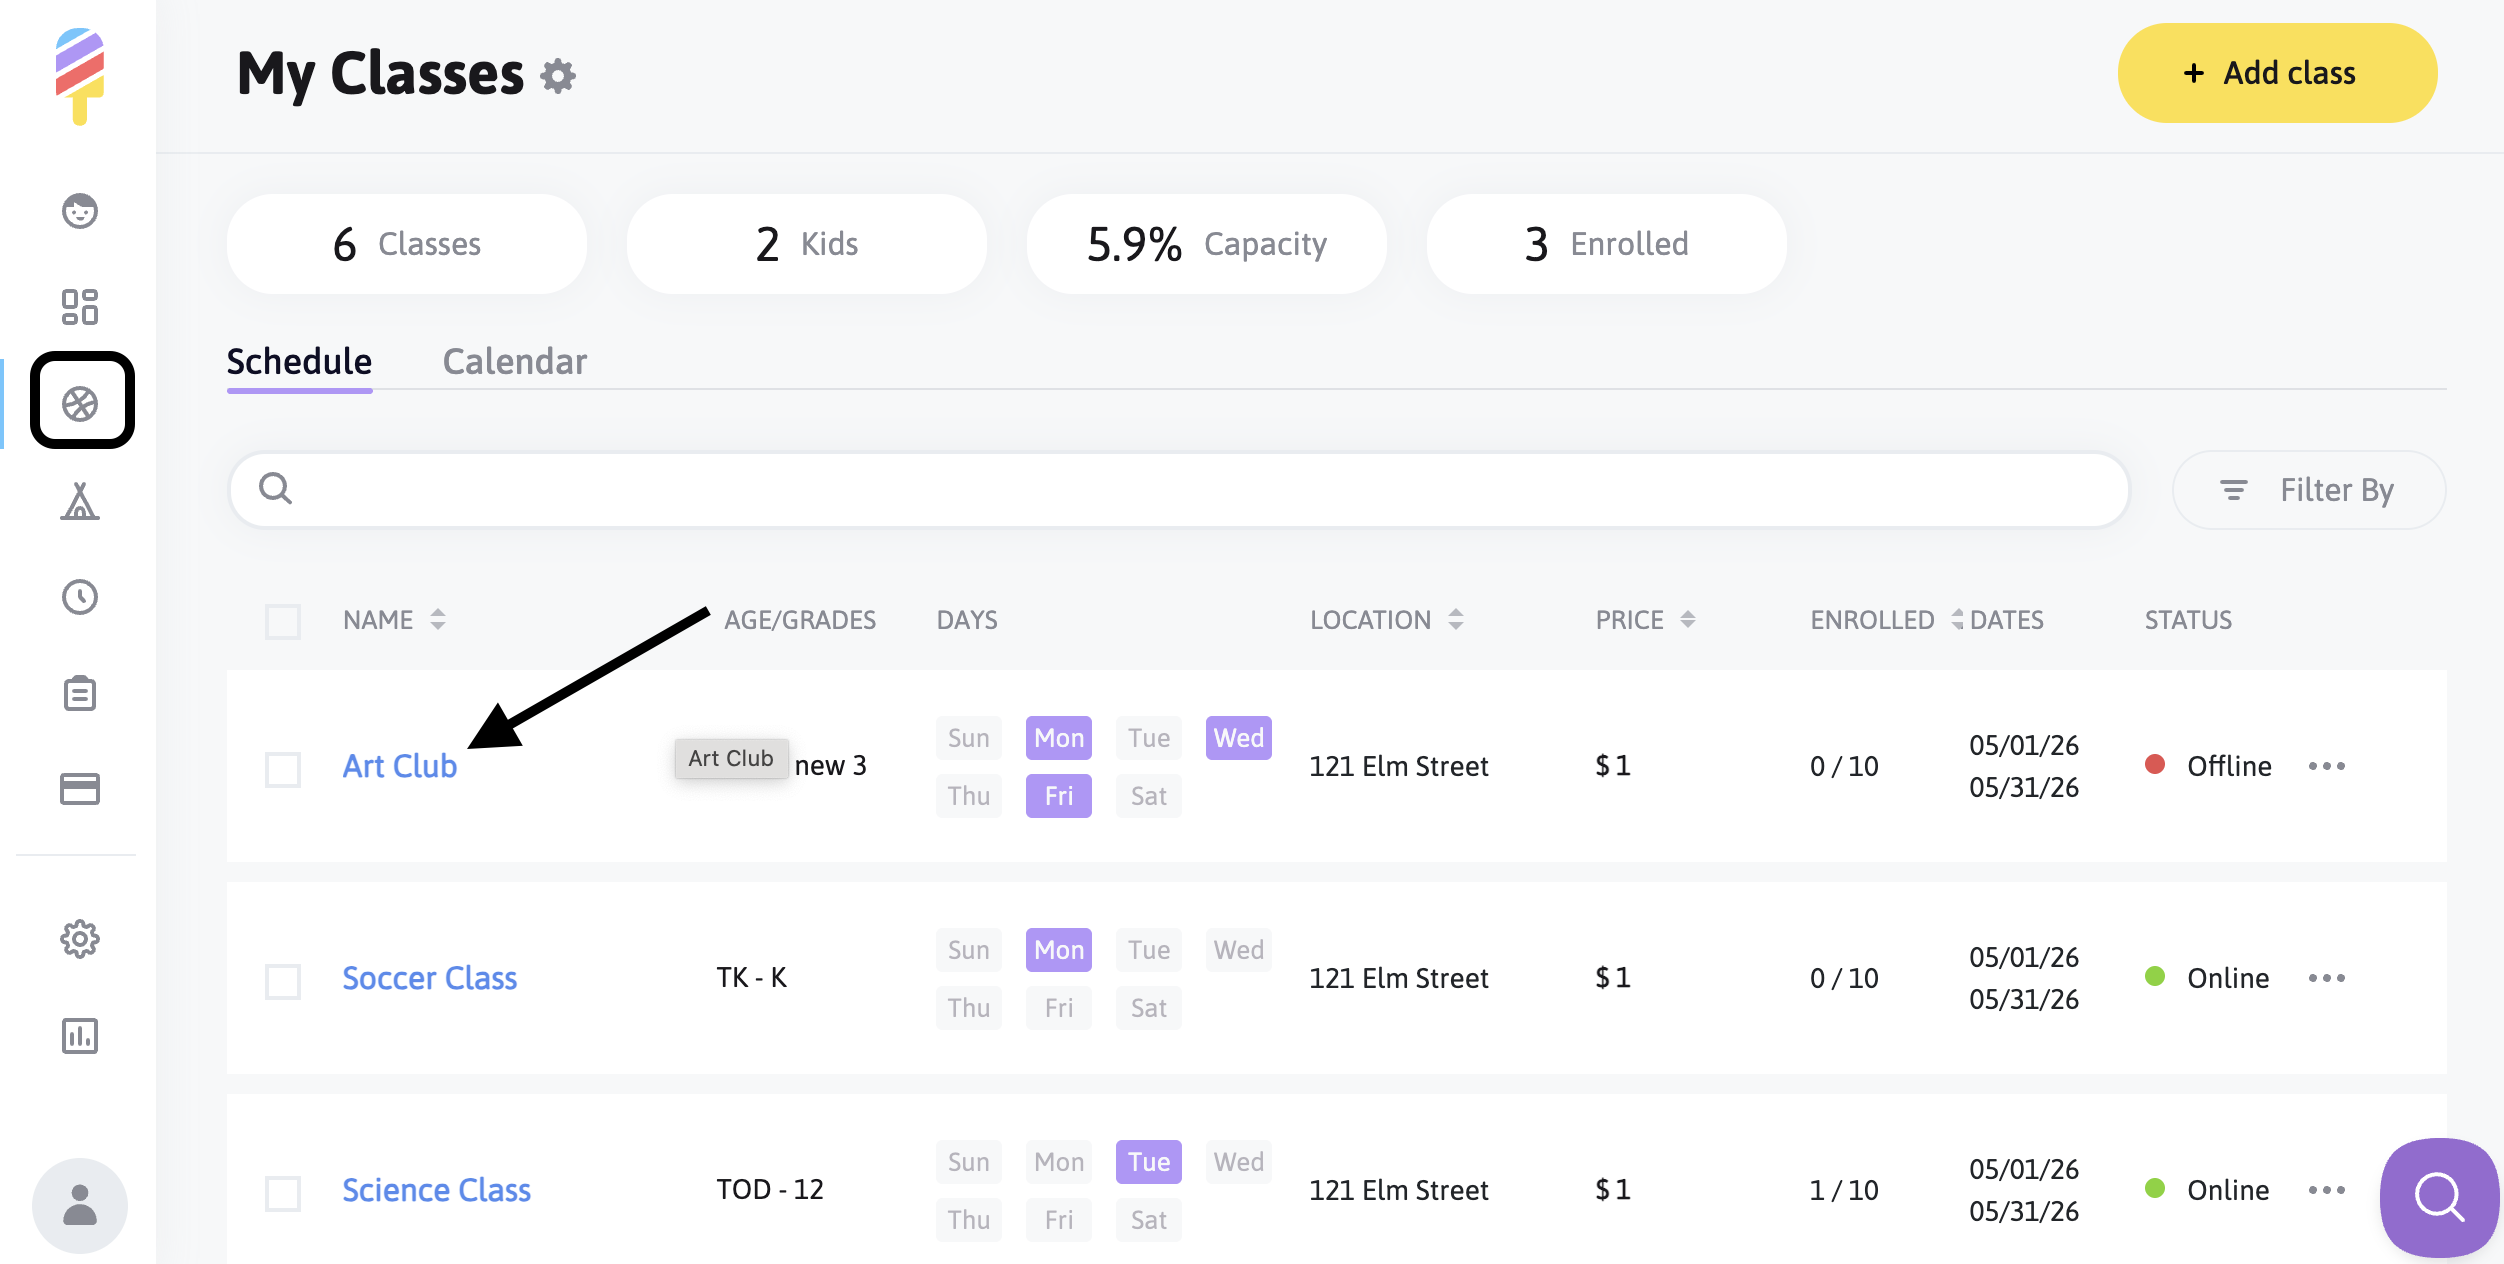
Once you see the roster for the class, choose the "add child" option in the upper righthand corner of the screen:


The next page will allow you to see any itemizations, as well as enter a discount code if applicable. Once the policies are agreed to, you are able to click Submit to finalize.

You can track payment statuses right from your roster, if needed:

**Reminder - You will only be able to see children in your system that have successfully enrolled in a class or activity previously. If they have not, you will not see their names in your account.
Camps
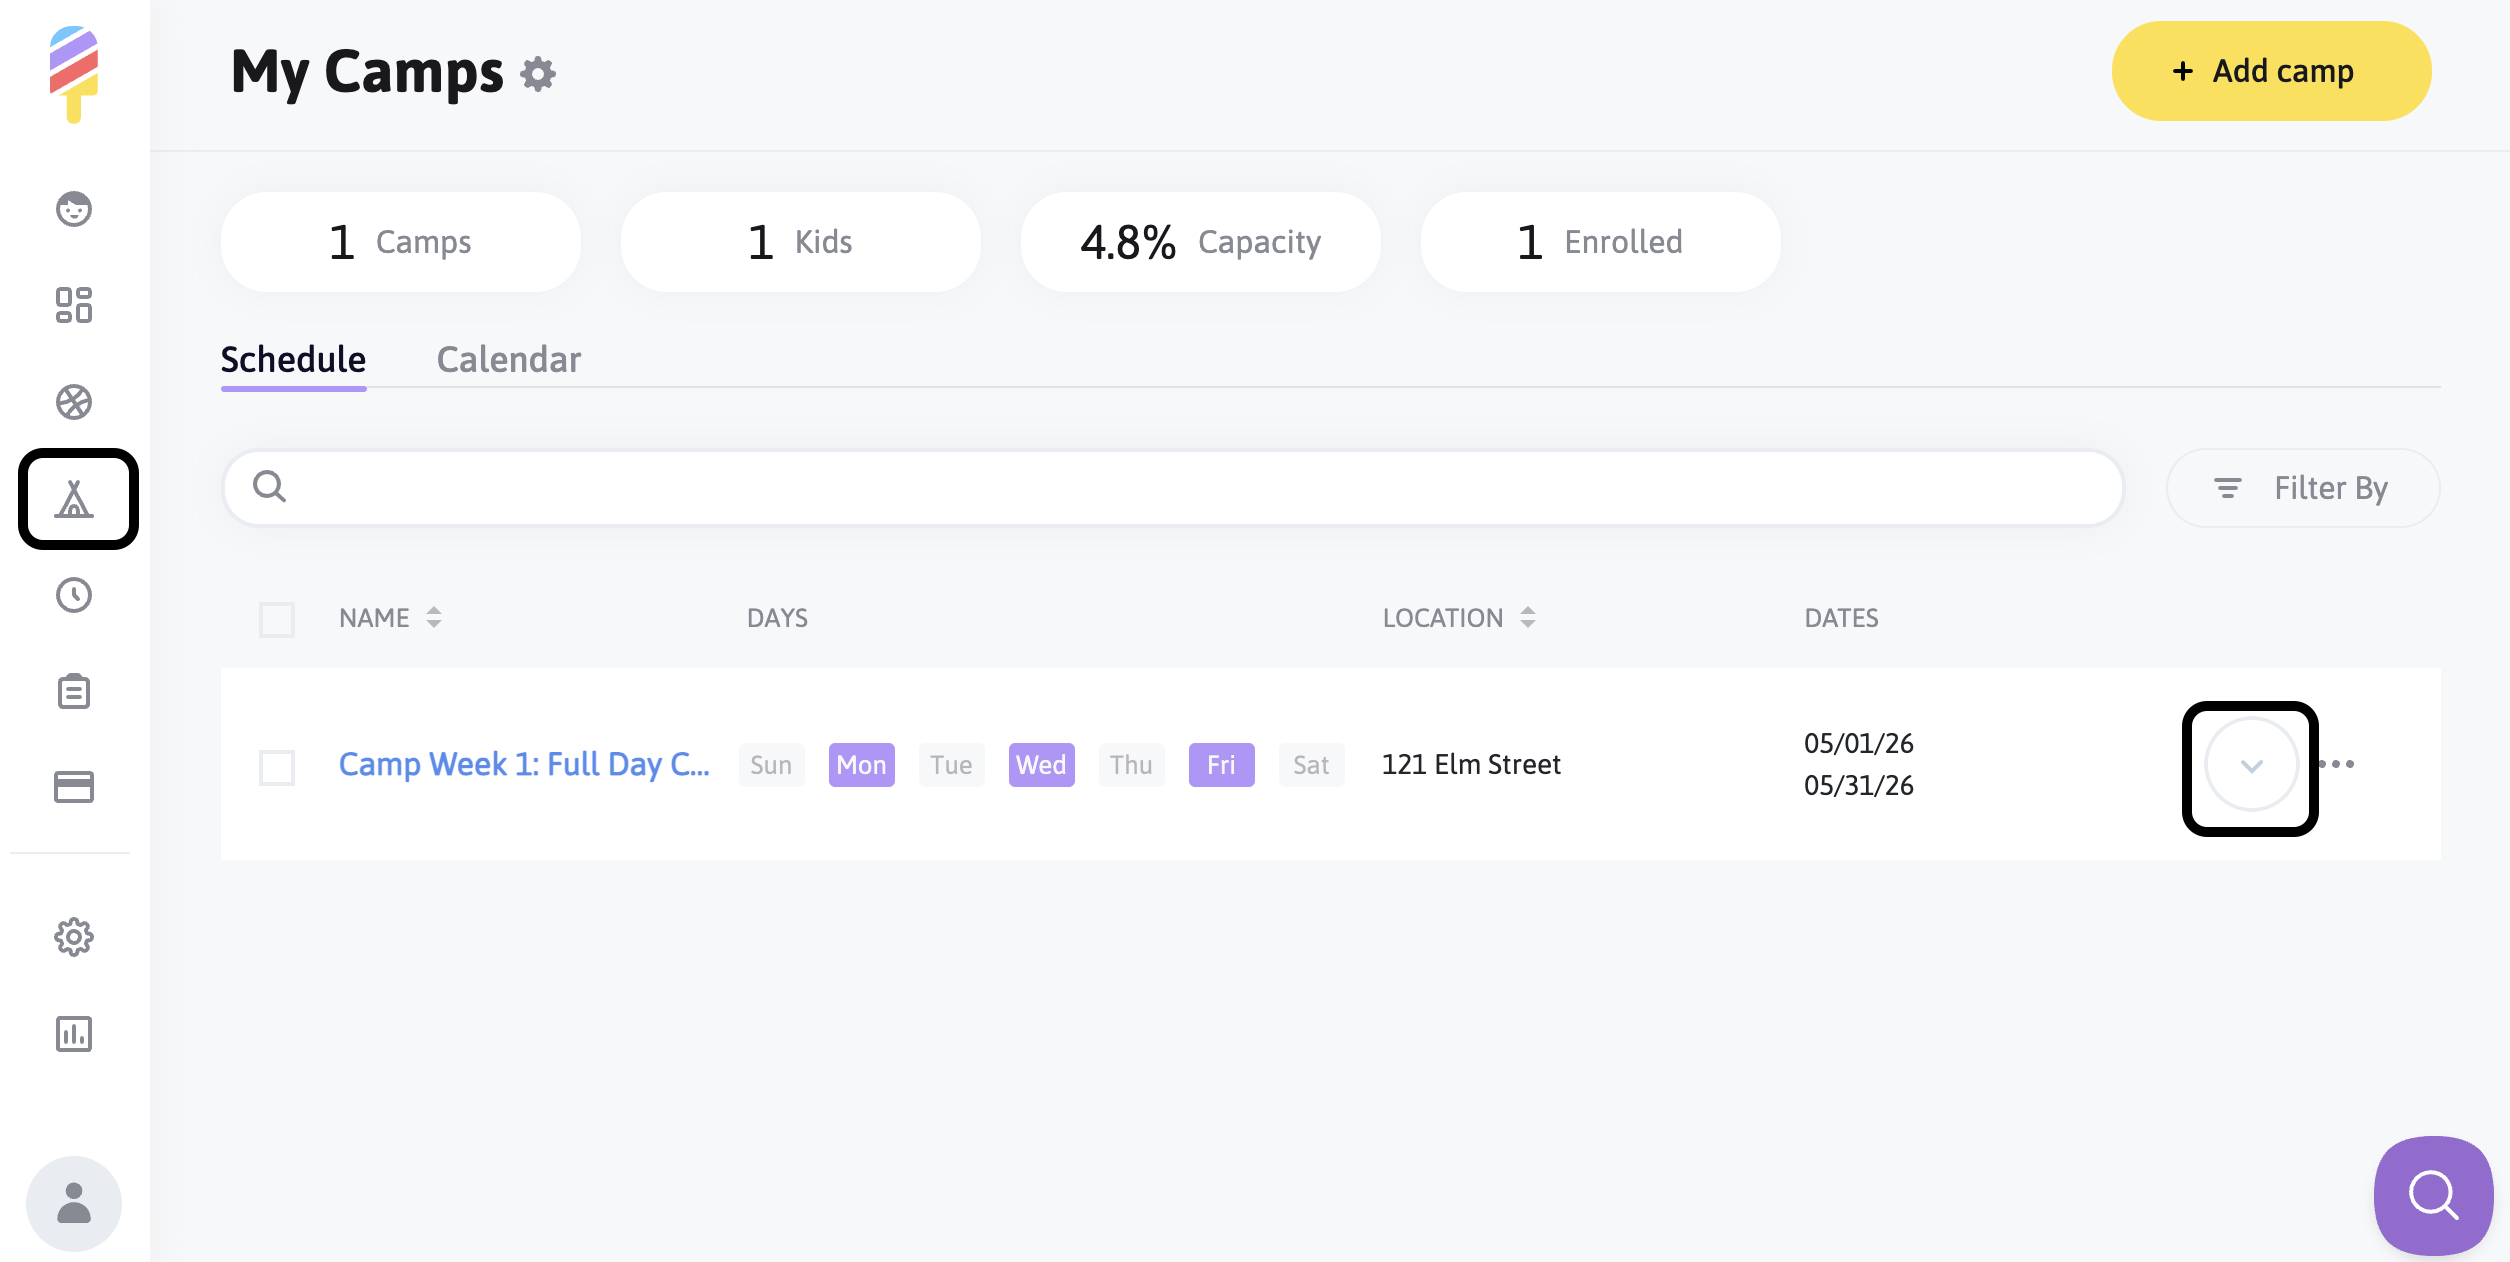
To add a child to a Camp roster manually, click on the Camps icon at the left side of the screen, then click on the arrow to the right of the camp you are working on:
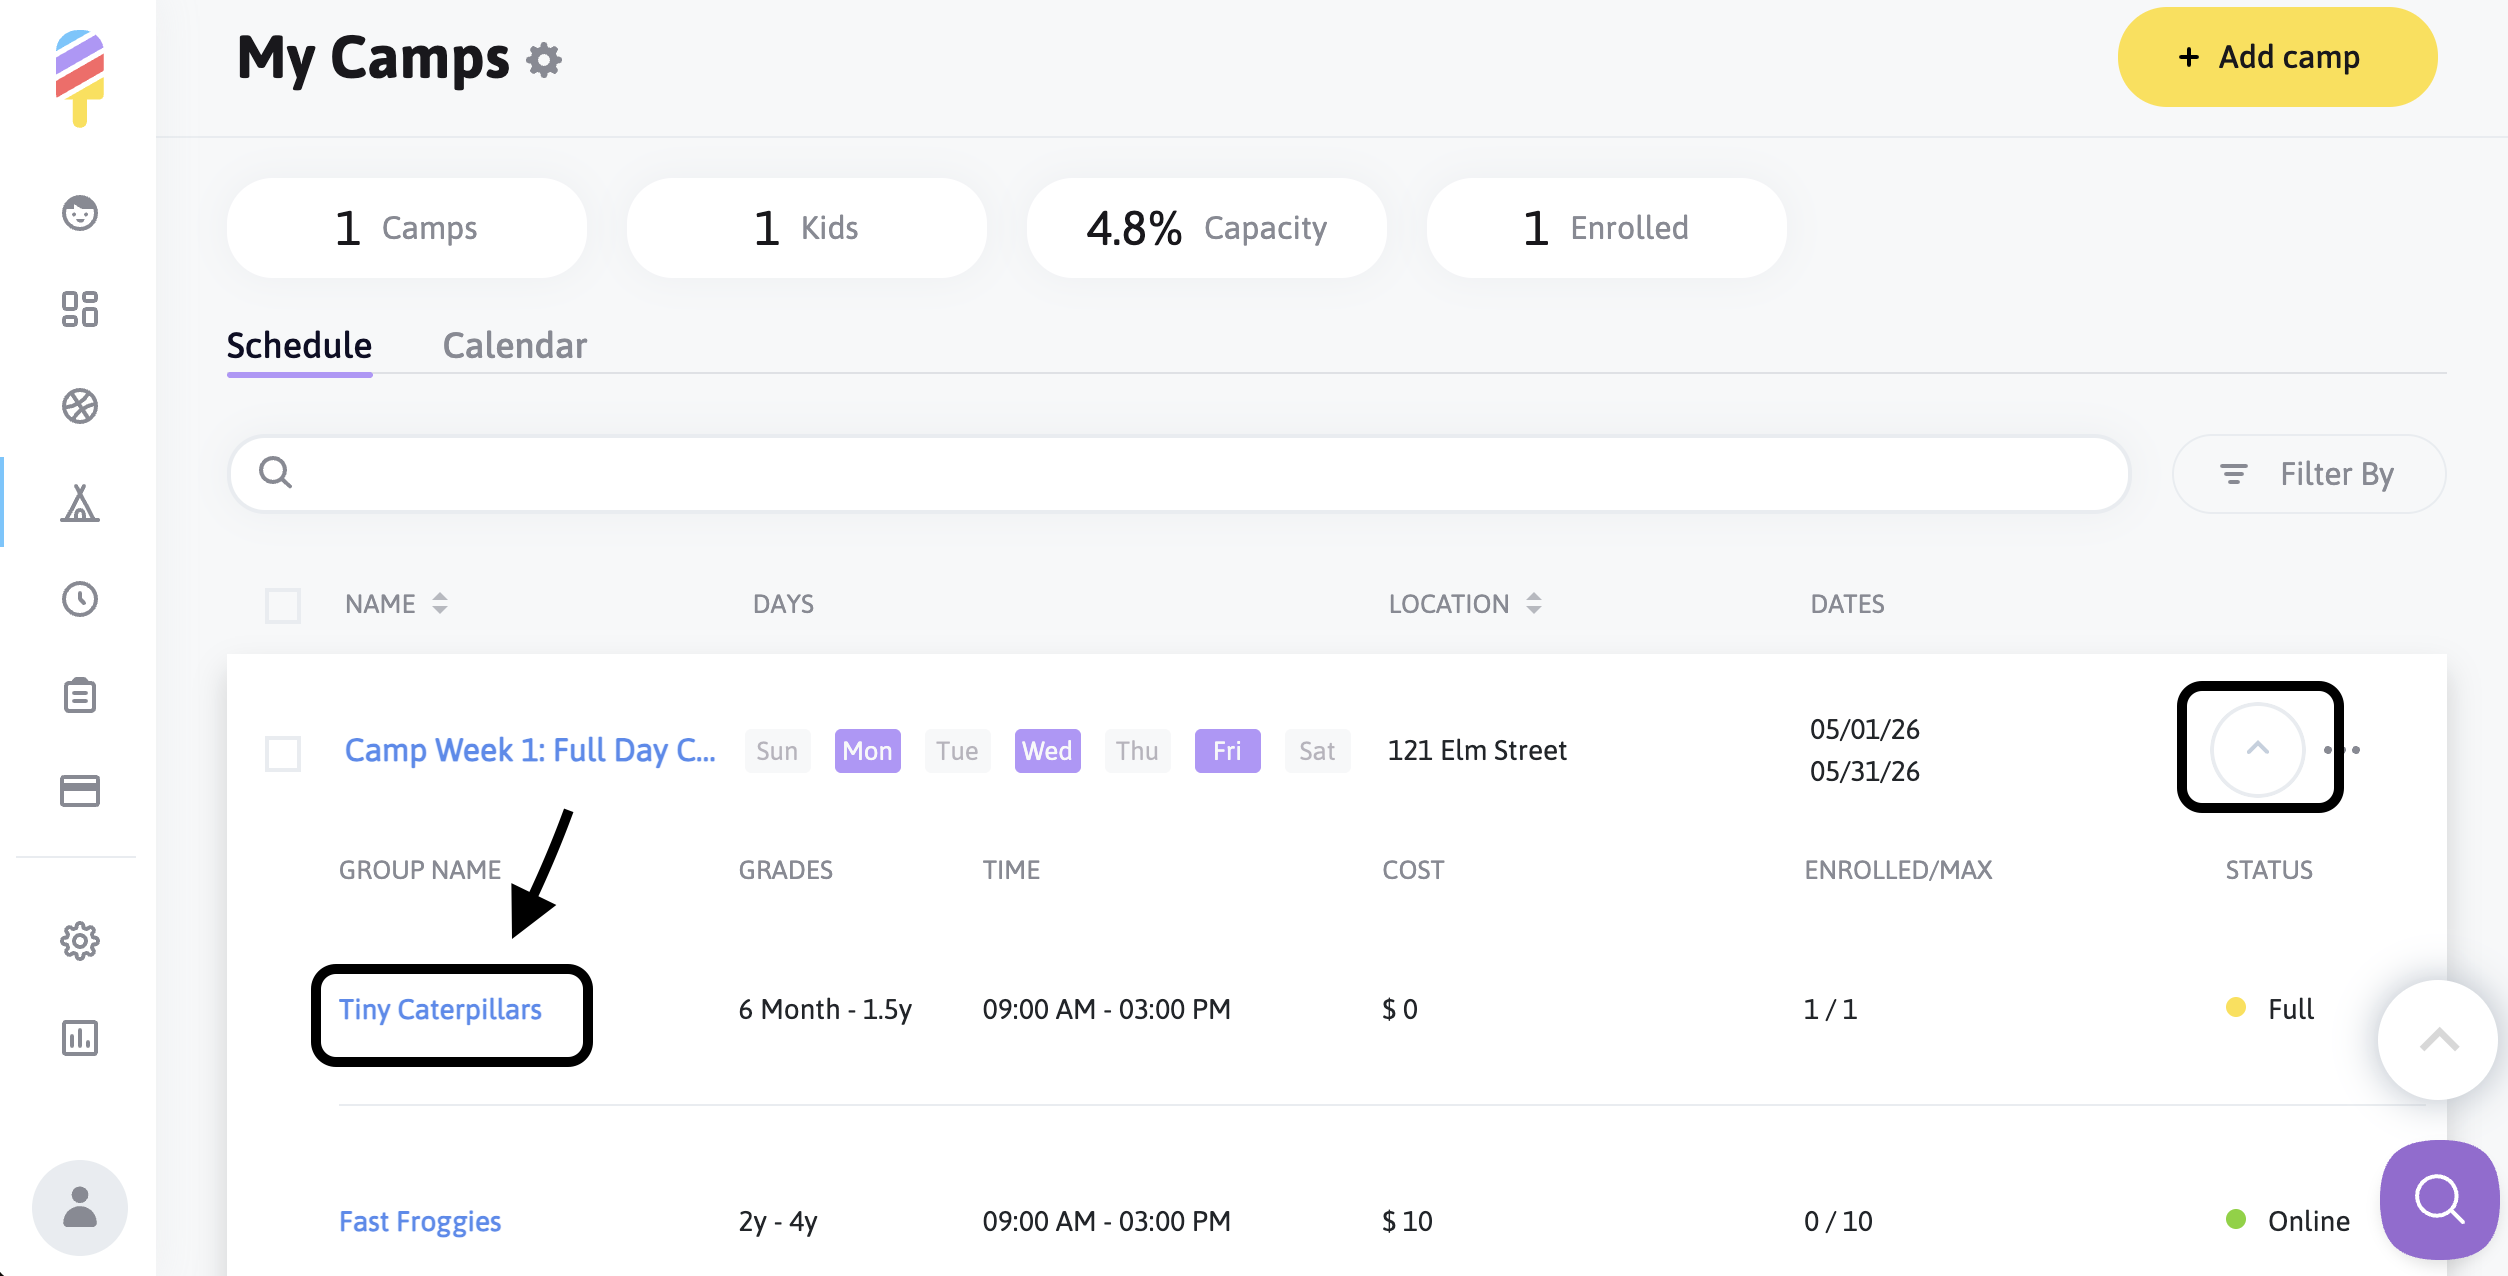
Click on the Group name:
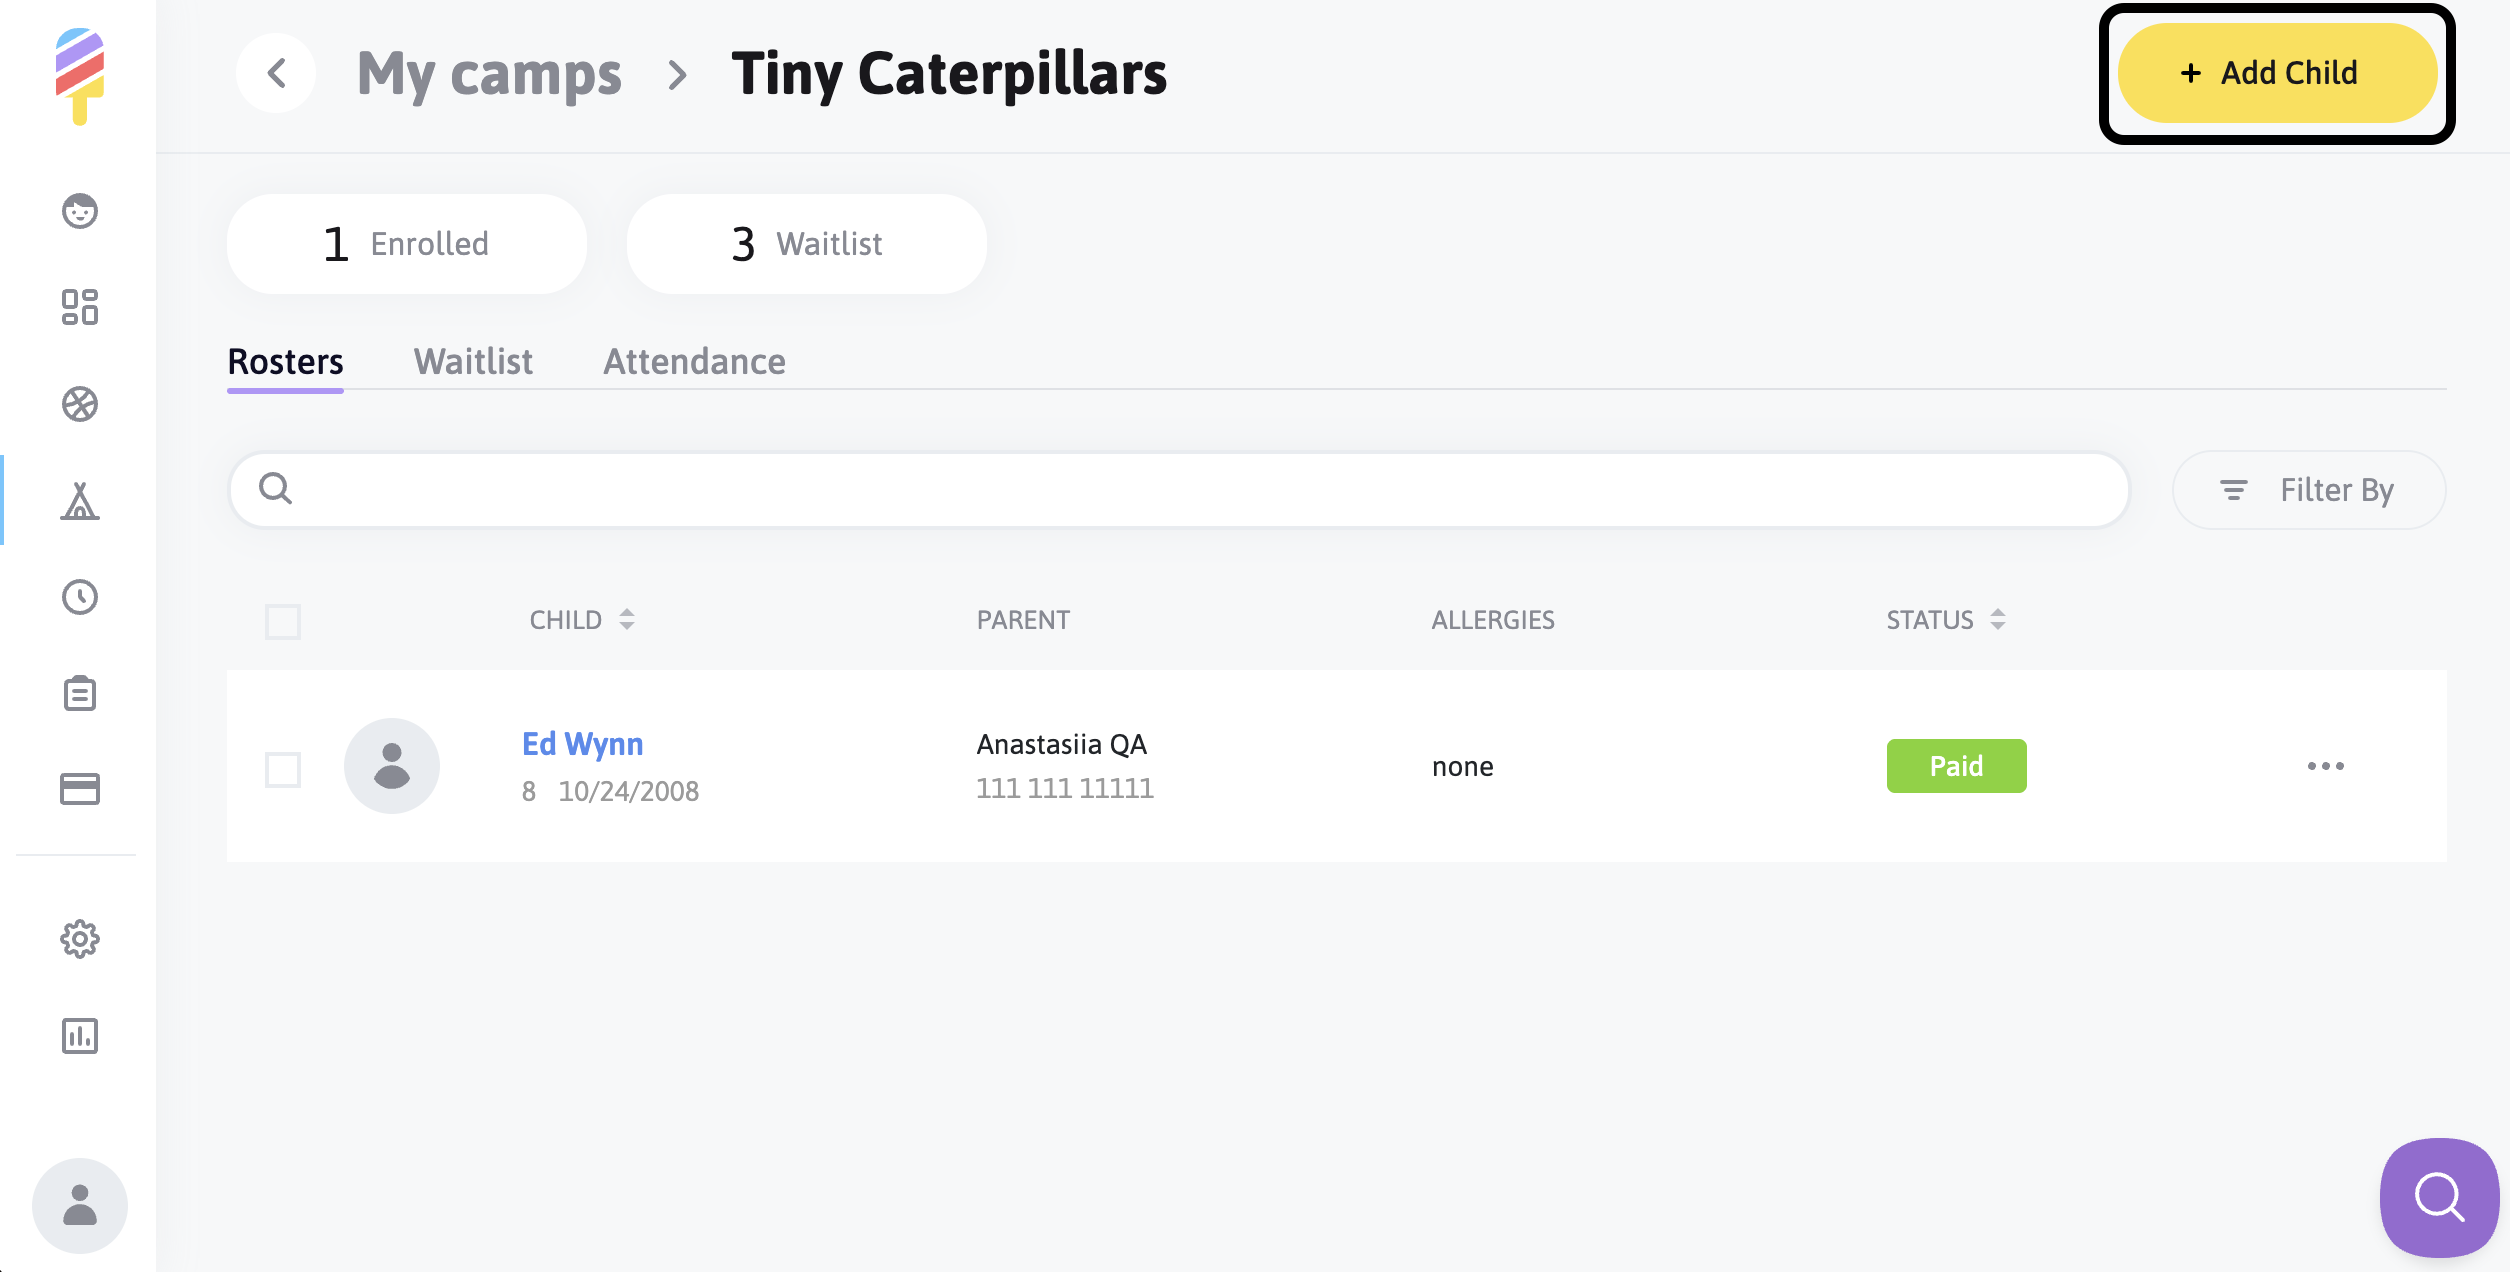
Click on Add Child:
Select "Invoice" or "Charge". The Invoice option allows the parent to pay at any time, while the Charge option automatically charges the card they have on file.

The next page will allow you to see any itemizations, as well as enter a discount code if applicable. Once the policies are agreed to, you are able to click Submit to finalize.

You can track payment statuses right from your roster, if needed:
**Reminder - You will only be able to see children in your system that have successfully enrolled in a class or activity previously. If they have not, you will not see their names in your account.
Aftercare
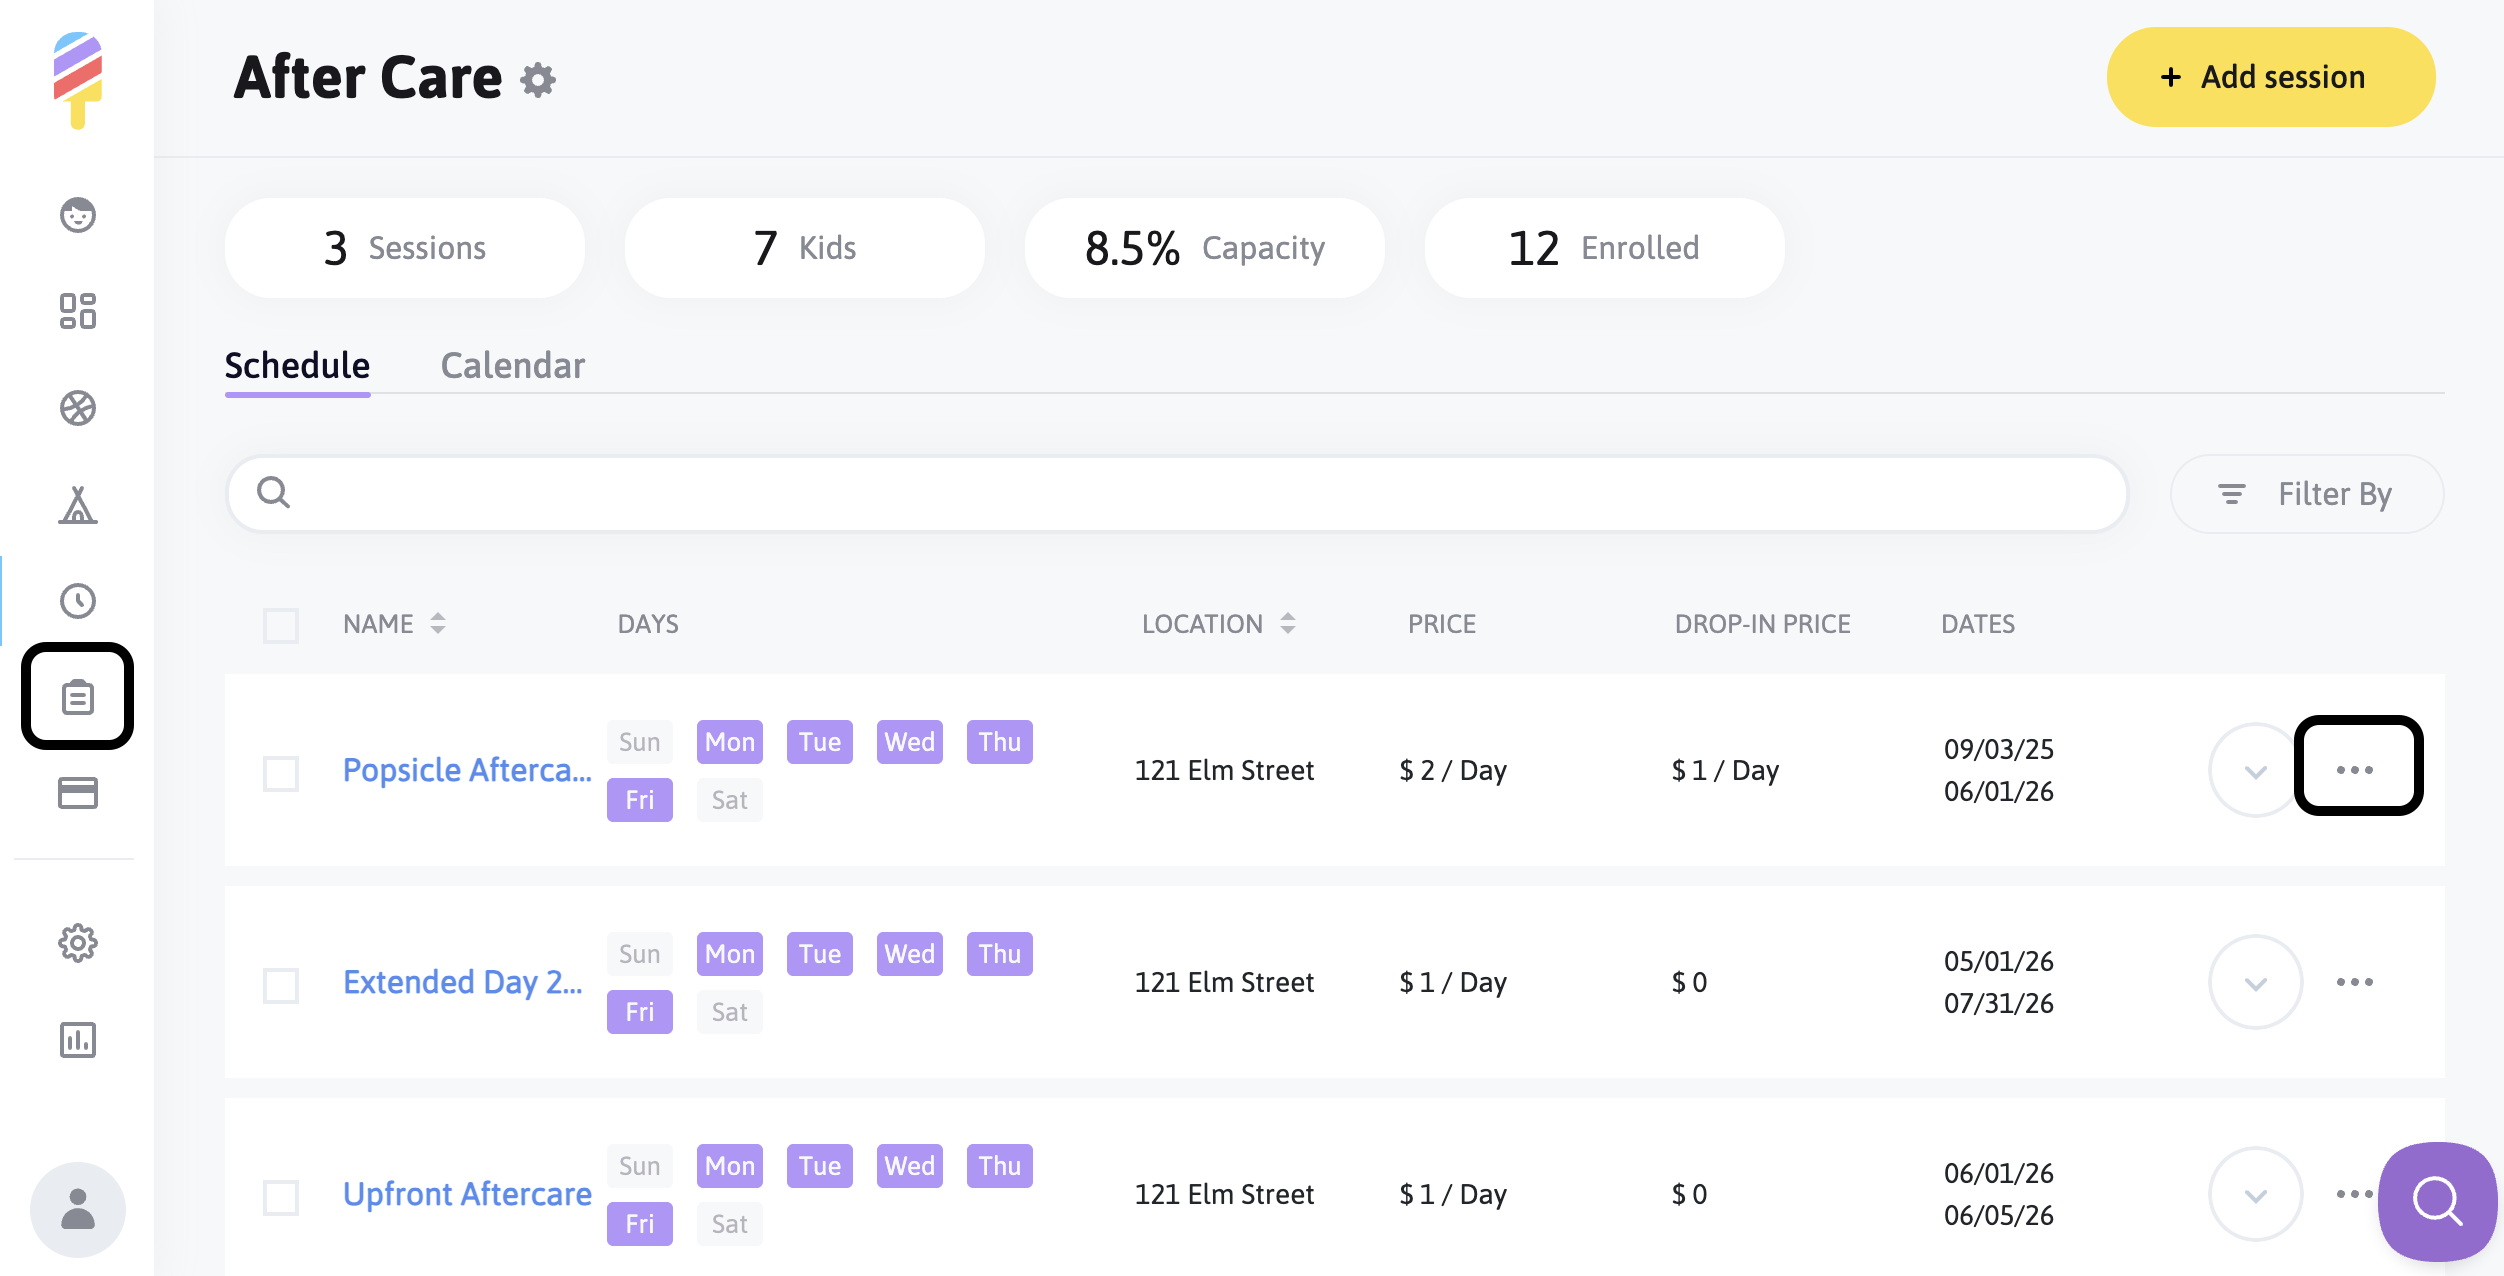
To add a child to an Aftercare roster manually, click on the Aftercare Icon at the left side of the screen, then click on the three dots to the right of the aftercare activity you are working on:
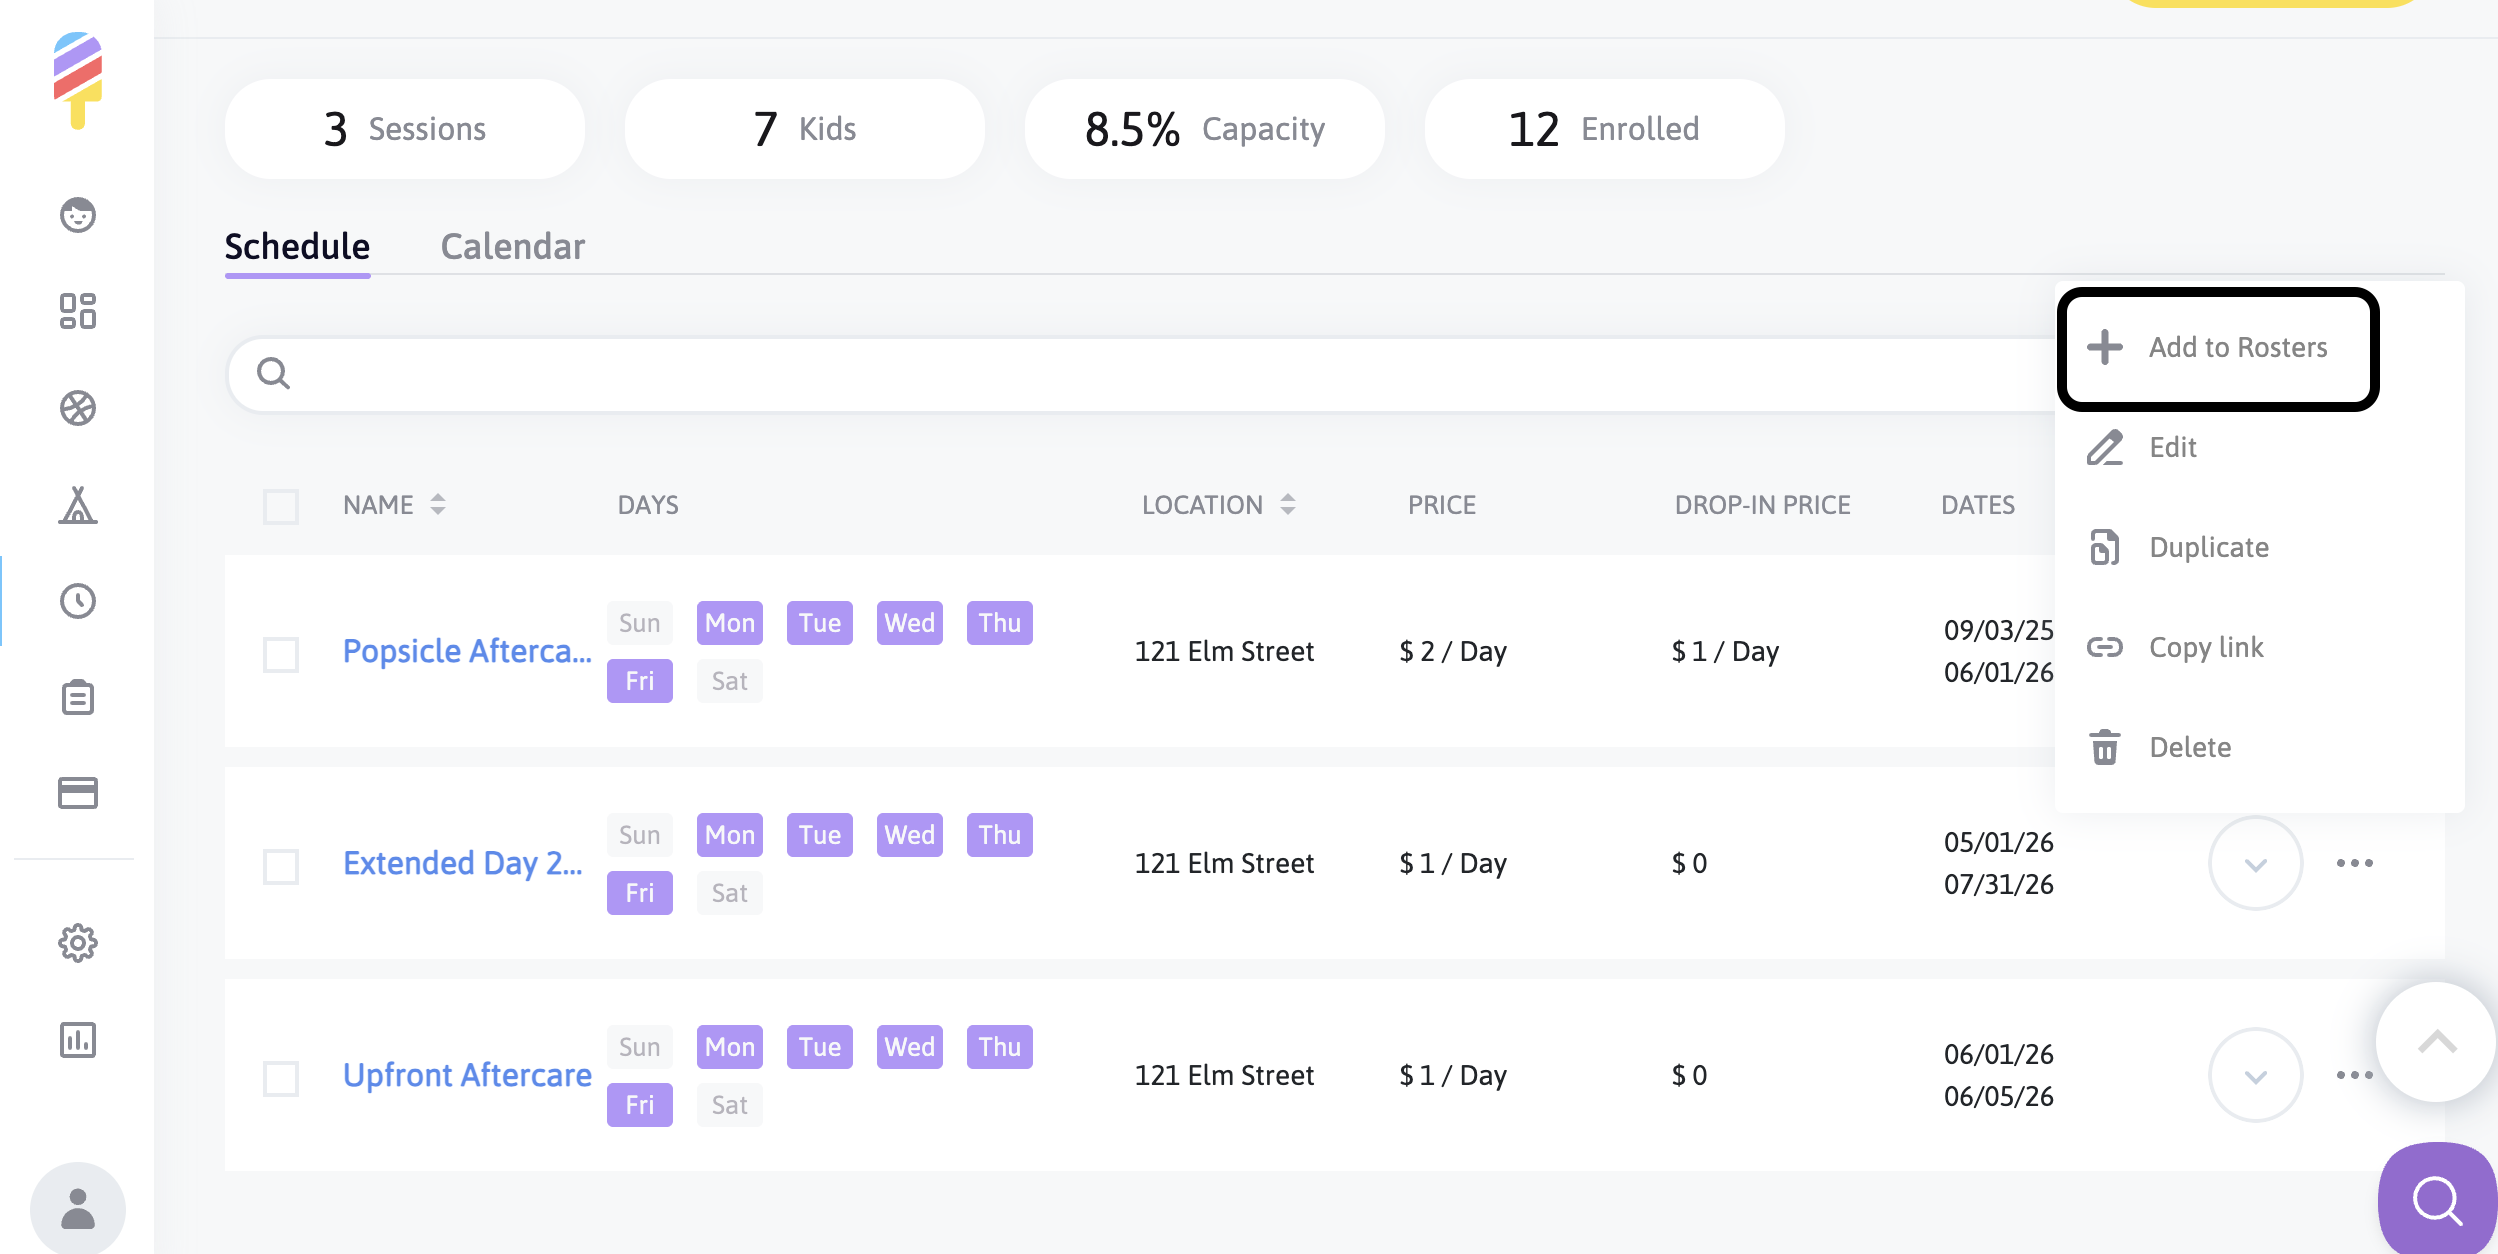
From the menu, you will see the option to "Add to Rosters" and then from the drop-down menu choose the child, day/days of the week, and fill out any other fields that are required.
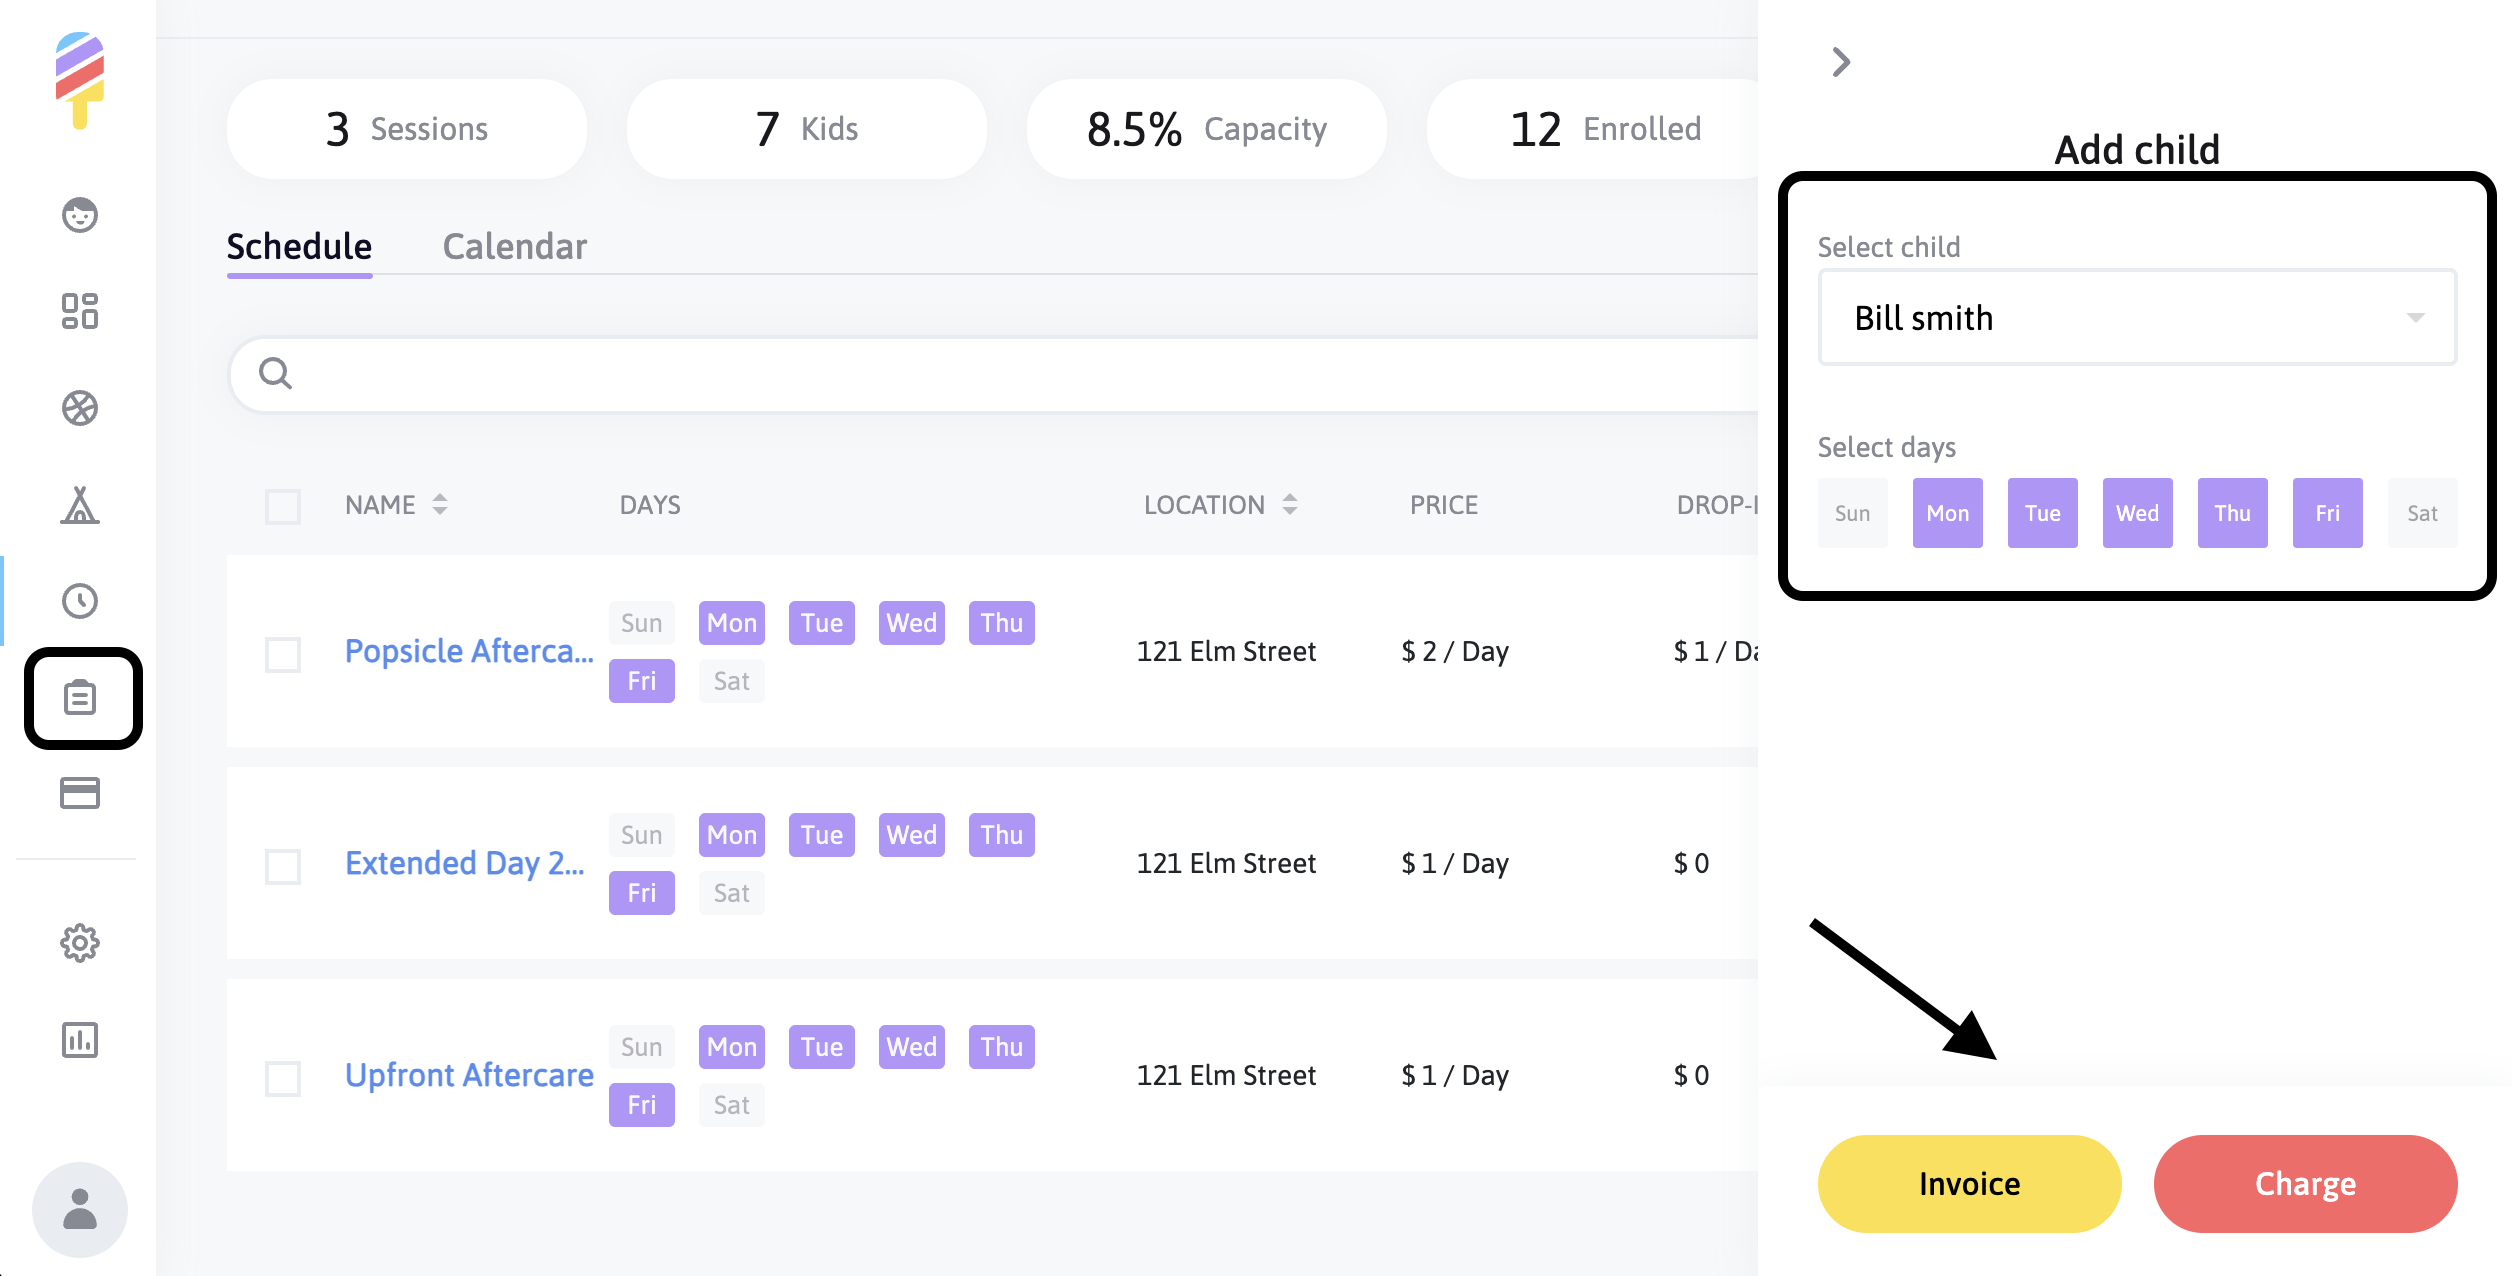
Once you have filled out all of the required fields, select 'Invoice' or 'Charge'.
The Invoice option sends an email notification to the parent with a payment link, allowing them to pay at any time, while the Charge option automatically charges the card they have on file.
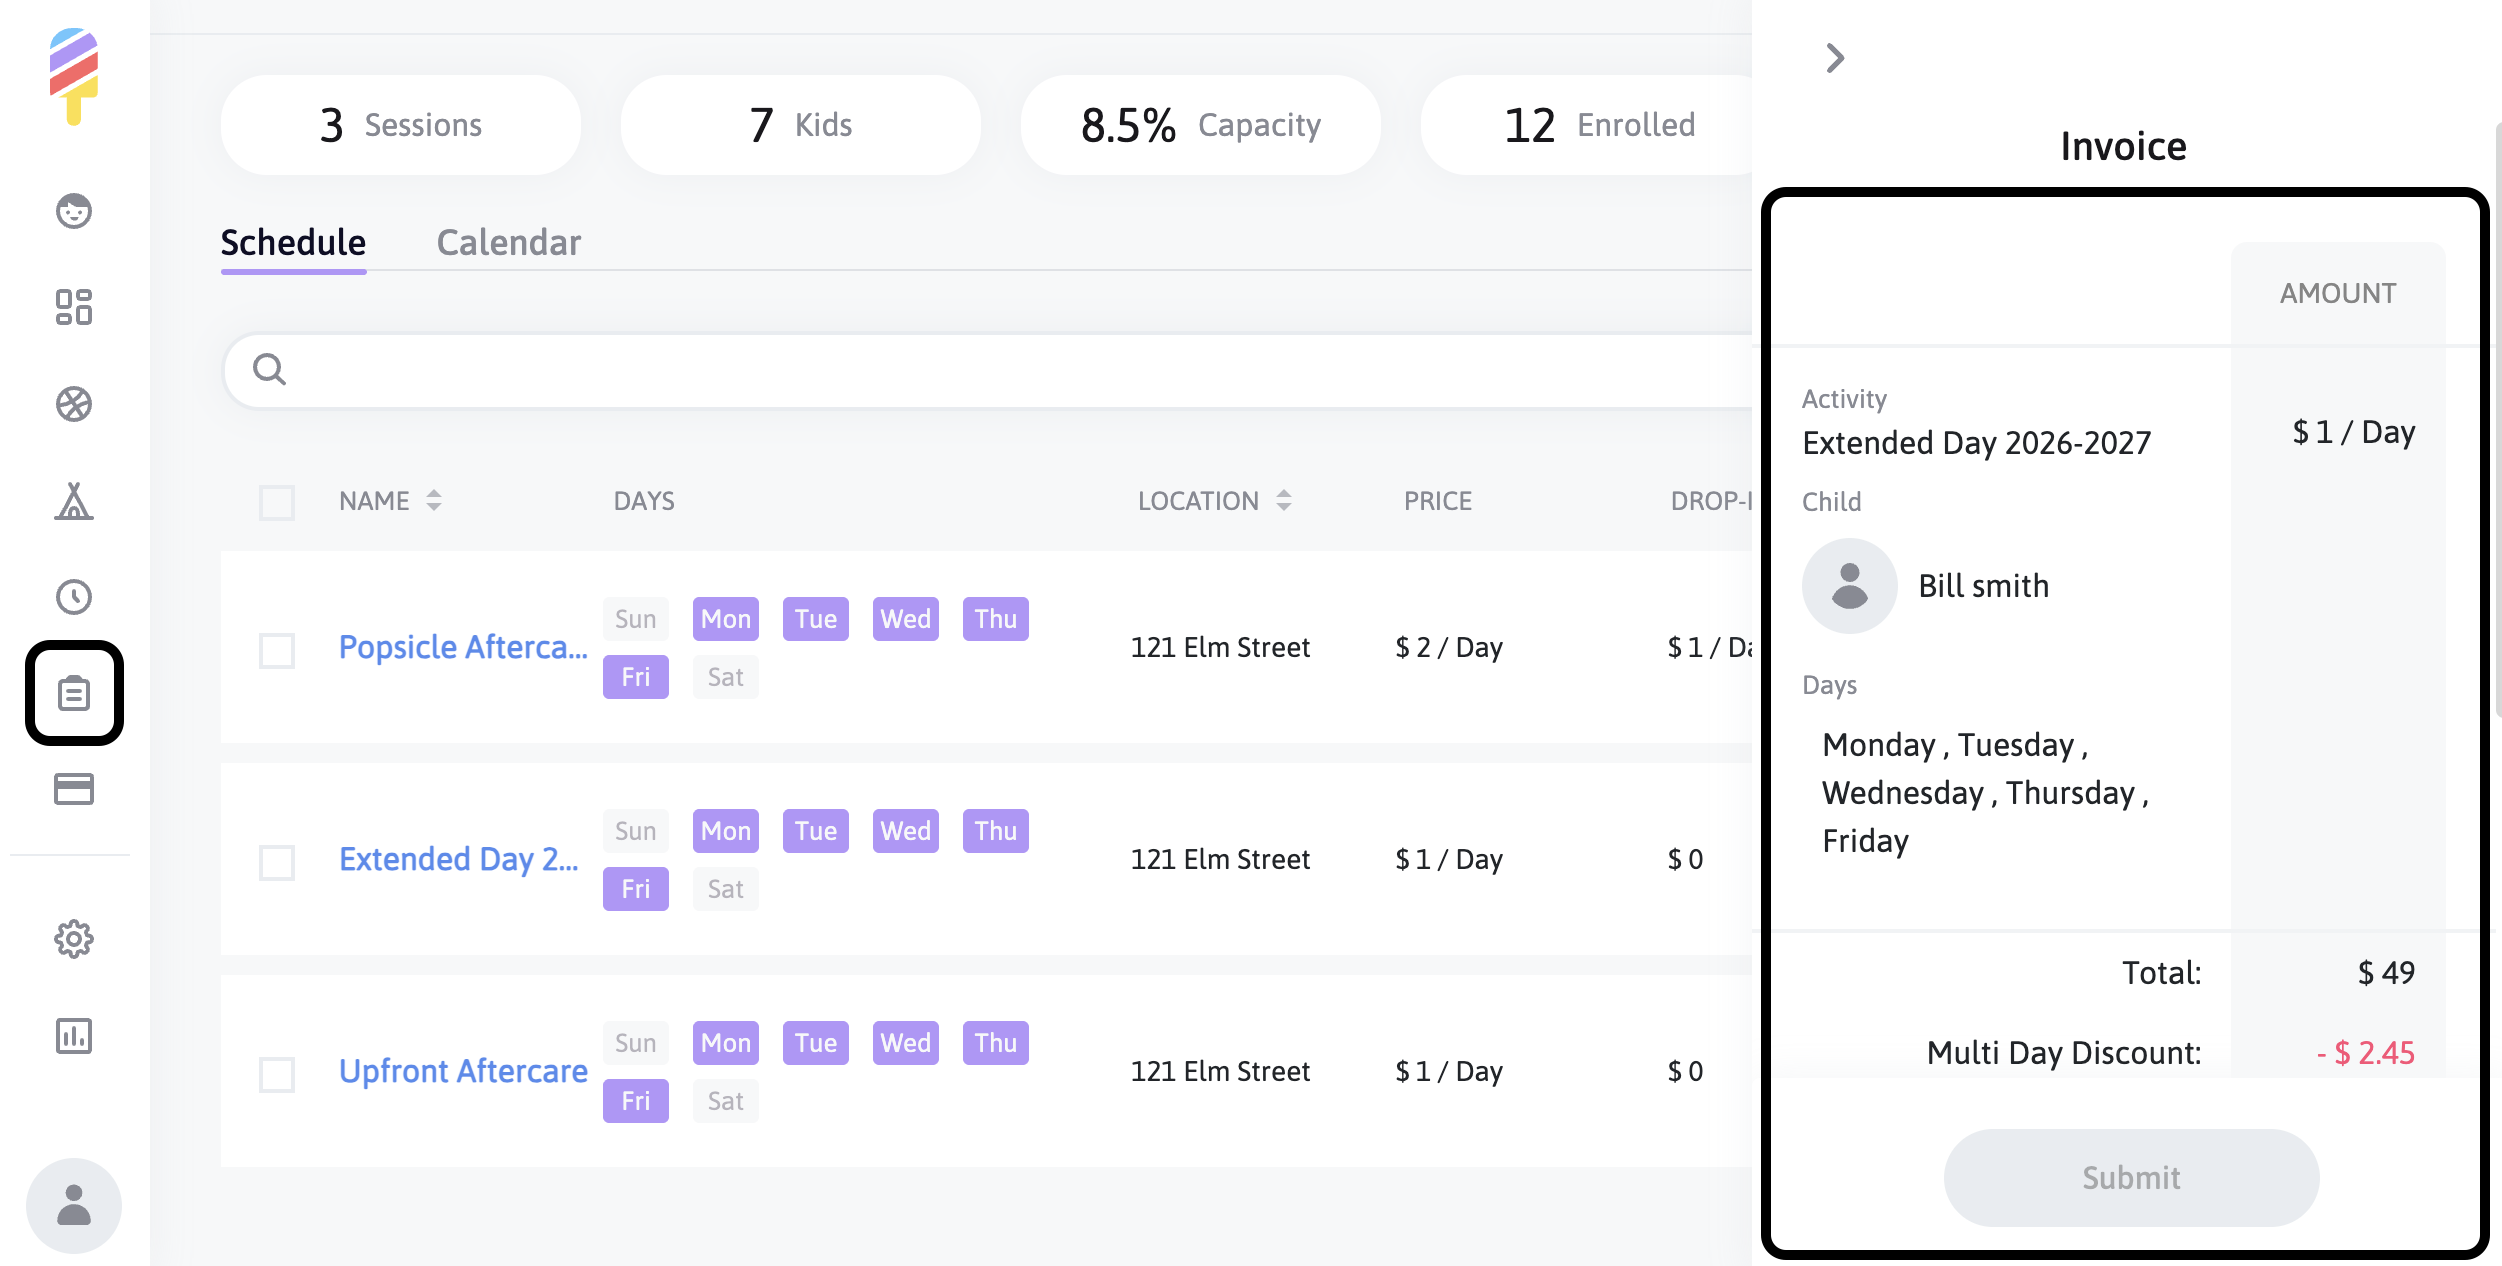
The next page will allow you to see any itemizations, as well as enter a discount code if applicable. Once the policies are agreed to, you are able to click Submit to finalize.
**Please note—Adding to the Roster will commit the parent to that particular day/days for the entirety of the activity session.